Forget everything you think you know about winter driving; a whiteout is a survival situation, not a traffic problem.
- Your high beams are your enemy. They create a “white wall” that blinds you, making a bad situation worse.
- Feeling the steering wheel go “light” or hearing your tires go silent are your only warnings before you lose all grip.
Recommendation: Your mission is not to get to your destination. It is to stay alive. That means knowing the non-negotiable hierarchy for pulling over safely, far away from the path of a snowplow.
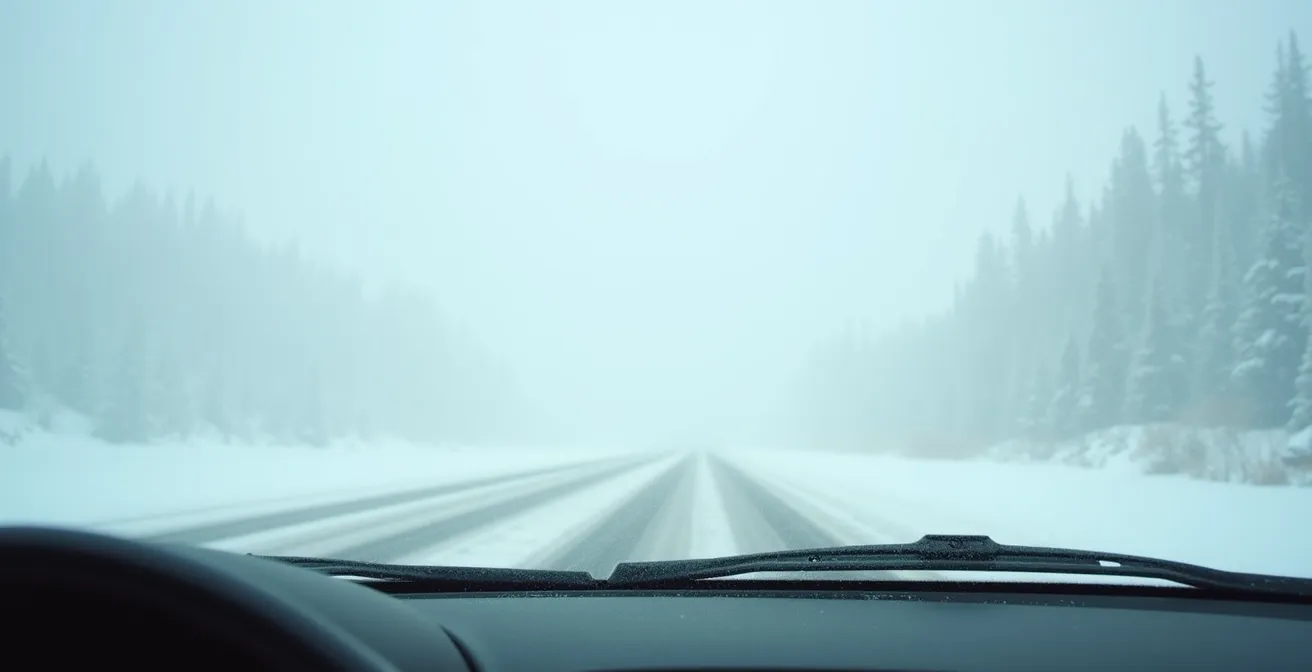
You see the squall line ahead. The sky and the snow-covered ground are already blending into a single, terrifying shade of grey. This isn’t just another Canadian snowstorm; this is a whiteout. In the next sixty seconds, your visibility will drop to zero. The advice you’ve always heard—”slow down,” “be careful”—is useless now. That’s advice for dealing with traffic. This is a battle against sensory deprivation and physics. As a patrol operator, I don’t give advice. I give commands. The difference between a close call and a multi-car pileup isn’t your winter tires; it’s the decisions you make in the next five minutes.
Most drivers think the challenge is seeing through the snow. They’re wrong. The real challenge is fighting the vertigo as flakes rush your windshield, understanding what your vehicle is telling you through the steering wheel, and knowing the one or two places on a highway where you can stop without being crushed by a snowplow. This is not a guide on how to be a better winter driver. This is a survival brief. Your objective is not to arrive on time. It is to arrive at all. We will cover the critical commands that matter when you can no longer see the road ahead: how to use your lights, how to fight disorientation, and the life-or-death calculus of when, and where, to pull over.
This article provides a tactical breakdown of the split-second decisions required to navigate zero-visibility conditions. The following sections are structured as a command brief, addressing the most critical threats in order of priority.
Summary: Whiteout Survival Brief
- Why you should never use high beams in heavy snow (The white wall effect)
- How to combat disorientation caused by snowflakes rushing at the windshield
- When to use your hazard lights (‘4-ways’): For driving slowly or only when stopped?
- The deadly danger of being hit by a plow: Where to stop safely
- How to use steering wheel feedback to feel for grip
- Chemical flares or LED pucks: Which signal is more visible in snow?
- The mistake that fogs up your windows and strains your heater in winter
- When to lift off the throttle: Visual cues that signal black ice
Why you should never use high beams in heavy snow (The white wall effect)
Your first instinct in low visibility is to get more light. It’s the wrong one. In a whiteout, your high beams are your worst enemy. Engaging them projects light further and higher, which in a snowstorm, means it reflects off millions of falling snowflakes and ice particles directly back into your eyes. This is the “white wall” effect. Instead of illuminating the road, you’ve created an impenetrable, blinding curtain of light just feet in front of your vehicle, reducing your effective visibility to almost zero. It’s a mistake that can be instantly disorienting and fatal.
Your only effective lighting strategy is to aim low and wide. Switch to your low-beam headlights immediately. Their pattern is directed downward, illuminating the road surface directly in front of you instead of the storm in the air. If your vehicle is equipped with fog lights, activate them. They are mounted low on the vehicle and cast a wide, flat beam designed to cut underneath the fog or snow, helping you see the painted lines or edge of the pavement. According to Ontario Provincial Police guidelines, high beams reflect off ice particles in the snow, making them counterproductive. Your job isn’t to light up the sky; it’s to find a reference point on the ground.
Maintaining your full lighting system—low beams and fog lights—is also about being seen. A snowplow operator is navigating the same treacherous conditions, and the spread of your fog lights can make you visible to them seconds earlier. This is not about courtesy; it is about survival.
How to combat disorientation caused by snowflakes rushing at the windshield
When visibility collapses, the world outside your windshield becomes a hypnotic, chaotic rush of white. This isn’t just a lack of sight; it’s an attack on your brain’s ability to orient itself. A whiteout removes all reference points—the horizon, shadows, even the texture of the road—leading to a powerful sense of vertigo. Staring straight ahead into the storm of flakes is a guaranteed way to become disoriented, lose your sense of speed, and drift out of your lane. You must actively fight this sensory overload with a disciplined scanning pattern.
Your only job is to maintain your position relative to a fixed object. Do not fixate on the centre of the storm. Instead, force your eyes into a continuous, triangular scanning motion. Look far ahead down the road for a fraction of a second, then shift your gaze to the right shoulder or the fog line, then glance quickly at your instrument panel to check your speed, and repeat. This breaks the hypnotic effect of the oncoming snow and keeps your brain anchored to reality. Your focus should be on the edge of the pavement or the tracks left by a vehicle in front of you. That is your only reliable guide.
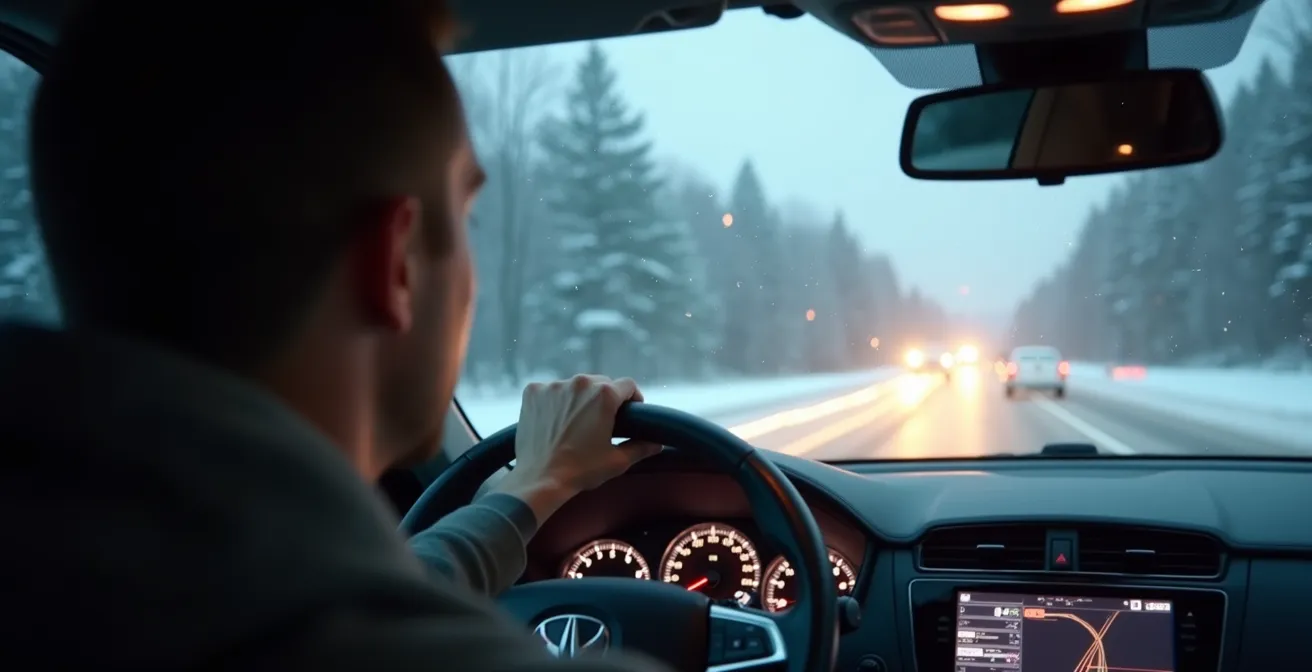
This scanning technique prevents you from developing “target fixation” on the taillights of the car ahead. Following too closely and staring at their lights is a recipe for a chain-reaction collision. Use their lights as one point in your scan, not your sole anchor. Your survival depends on building a mental map of your immediate surroundings, not on blindly following someone else into a potential disaster.
When to use your hazard lights (‘4-ways’): For driving slowly or only when stopped?
The misuse of hazard lights, or “4-ways,” is one of the most dangerous and common errors in a whiteout. The instinct is to turn them on to signal “caution” while you are still moving slowly. This is a critical mistake. When your hazard lights are flashing, you disable your turn signals. More importantly, it becomes extremely difficult for the driver behind you—or the plow operator bearing down on you—to tell if you are braking. Both your brake lights and hazard lights are red and flashing, creating a confusing signal that can mask your intention to slow down or stop, leading directly to a rear-end collision.
The rule is simple and absolute: Hazard lights are for stationary vehicles only. Use them when you are stopped on the shoulder or in a lane because you are a fixed, immovable hazard. If you are moving, no matter how slowly, your regular taillights are sufficient. Kerry Schmidt of the Ontario Provincial Police Highway Safety Division puts it best:
Flashers are useful as a temporary warning to drivers behind you that conditions, mainly the speed of traffic, are about to change quickly. The problem with leaving flashers on all the time in poor visibility is that they make it hard for other drivers to tell if you’re braking or signalling to turn.
– Kerry Schmidt, Ontario Provincial Police Highway Safety Division
It’s also crucial to know that regulations differ across Canada. While the principle of not confusing other drivers is universal, the specific legality of using hazards while moving varies by province. What is permitted in Alberta may be prohibited in Ontario. Your safest and most universally understood signal is to avoid them unless you are completely stopped.
This table from Transport Canada provides a quick overview of the varying provincial rules, underscoring why the safest default is “stopped only.”
| Province | Moving Vehicle Use | Stopped Vehicle Use |
|---|---|---|
| Ontario | Generally prohibited (HTA 142.8) | Required when stopped on roadway |
| Alberta | Permitted when speed significantly reduced | Required when stopped |
| Quebec | Less restrictive guidelines | Required when stopped |
The deadly danger of being hit by a plow: Where to stop safely
The decision to pull over is the most critical one you’ll make. Doing it wrong is often more dangerous than continuing to crawl forward. Stopping on a “live” shoulder in a whiteout puts you directly in the path of snowplows and other vehicles seeking refuge. It’s how a single stranded car becomes a statistic, like the 100 cars stranded after a chain-reaction pileup on a major Ontario highway. A snowplow clearing the right lane and shoulder can have a “wing blade” that extends several feet beyond the truck, and the operator may not see you until it’s too late. Your car is not a match for 30 tons of steel moving at 60 km/h.
You must know the hierarchy of safe stopping locations. This is not a list of suggestions; it is a non-negotiable order of operations. You do not proceed to the next option unless the one above it is impossible to reach. The safest place to be in a whiteout is completely off the highway system.

Stopping is an admission that you can no longer safely control your vehicle. Once you make that choice, your only priority is to get out of the path of other traffic, especially the plows that are trying to clear the way. The shoulder is a last resort, not a safe haven.
Action Plan: Safe Stopping Hierarchy for Canadian Highways
- Priority 1: Exit completely. Your primary goal is to get to a designated service centre (like an ONroute), a rest area, or the next town. Get entirely off the highway infrastructure.
- Priority 2: Use an overpass. If you cannot exit, the next best location is to pull over fully onto the shoulder directly underneath an overpass. It provides shelter and makes you highly visible to approaching traffic against the concrete structure.
- Priority 3: Find a long, straight, wide shoulder. If no exit or overpass is near, find the longest, straightest, and widest piece of shoulder you can. Pull as far to the right as possible, giving maximum clearance.
- Last Resort: Standard shoulder. Only if all other options are exhausted, pull onto the shoulder. Turn on your hazard lights, stay in your vehicle with your seatbelt on, and call for help (*OPP in Ontario, or your local emergency number).
How to use steering wheel feedback to feel for grip
In a whiteout, you can’t trust your eyes to see the road surface. You must learn to read the road with your hands. Your steering wheel is a vital sensory input device that tells you everything you need to know about your available traction, or “grip intelligence.” Ignoring its feedback is like closing your eyes and hoping for the best. You’ll feel a moment of sheer panic when your vehicle begins to skate, no longer responding to your inputs, sliding uncontrollably. The key is to interpret the signals from the wheel *before* this happens.
You need to develop a feel for the connection between your tires and the pavement. A firm, planted steering wheel means you have good grip. A wheel that feels suddenly light, floaty, or disconnected is screaming at you that your tires are skimming on a layer of ice or slush. This is your final warning before a total loss of traction. When you feel this, your only move is to ease off the accelerator smoothly and avoid any sudden steering or braking. Your goal is to let the tires regain their connection with the road surface.
Learn to read this dictionary of feedback from your steering system. Each sensation is a critical piece of data:
- Light and floaty feeling: You are losing traction on ice or deep slush. Reduce speed immediately, no sudden movements.
- Heavy and connected: You have good tire grip on cleared or sanded pavement. Maintain steady, smooth control.
- Jerky or pulling sensation: You are driving through uneven snow or ruts. Grip the wheel firmly to resist the pull, but do not overcorrect or fight it.
- Sudden silence from tires: The sound of your tires kicking up slush or water has stopped. You are on black ice. Do not brake. Do not steer. Keep the wheel straight.
Chemical flares or LED pucks: Which signal is more visible in snow?
If you are forced to stop on a shoulder, your next job is to become as visible as possible to prevent a secondary collision. Your hazard lights are the first step, but in heavy, blowing snow, you need a more powerful signal. The choice between traditional chemical flares and modern LED pucks is a tactical one, with clear trade-offs in extreme Canadian cold.
Chemical flares burn with an incandescent light, which has proven to be exceptionally effective at penetrating heavy snowfall and fog. The intense, almost magical glow can cut through visibility conditions where even bright LEDs struggle. However, they have significant drawbacks: a short duration (15-30 minutes), and they can be extremely difficult to ignite with cold hands or while wearing thick gloves. They are a powerful but short-lived and finicky solution.
LED pucks offer a massive advantage in duration, often lasting 8 hours or more. They are simple to activate even with gloves on. Their primary weakness is in extreme cold, where research shows batteries can suffer a 50% power loss, reducing their brightness and lifespan. Furthermore, the light from an LED, while bright, may not have the same snow-penetrating quality as an incandescent flare in the worst whiteout conditions.
The optimal solution is to have both. Use the LED pucks for long-duration marking of your vehicle’s position. Keep the chemical flares in reserve for the most critical moments, such as when you hear a vehicle or plow approaching, to deploy a high-intensity, unmistakable warning signal.
| Feature | Chemical Flares | LED Pucks |
|---|---|---|
| Snow Penetration | Excellent – incandescent light cuts through | Good – may struggle in heavy snow |
| Duration | 15-30 minutes | 8+ hours (temperature dependent) |
| Cold Performance (-25°C) | Difficult to ignite with gloves | 50% battery capacity loss |
| Visibility Range | 1-2 km in clear conditions | 500m-1km depending on model |
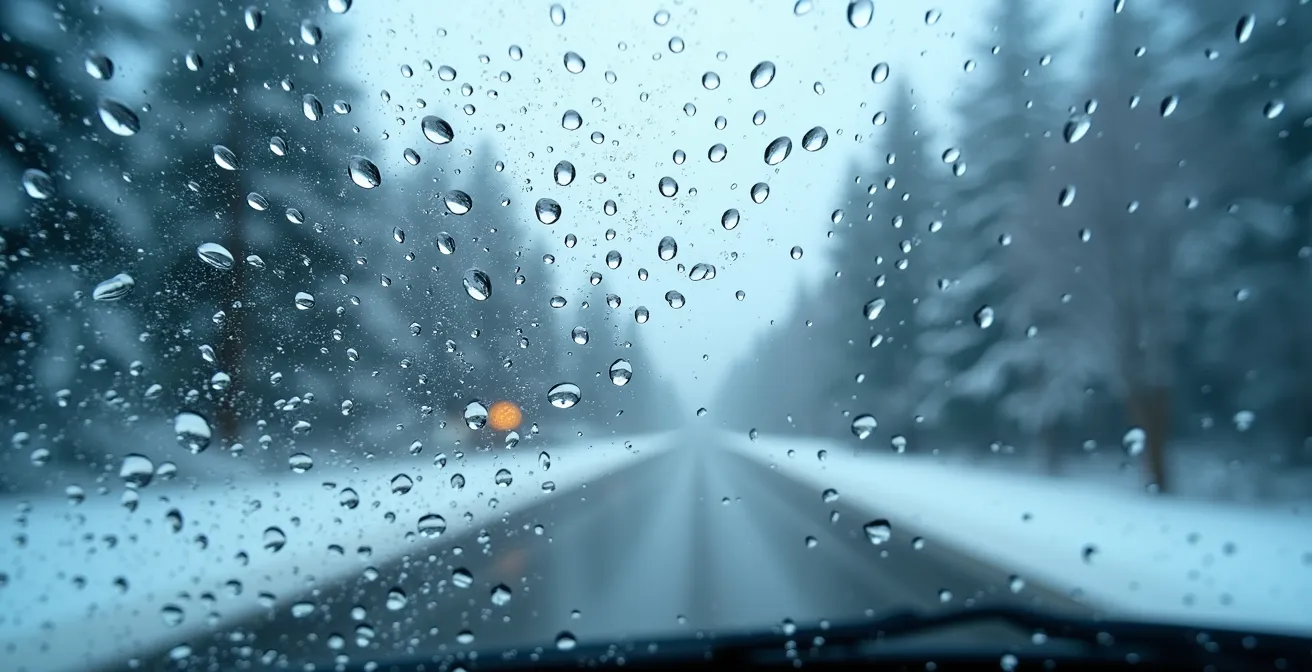
The mistake that fogs up your windows and strains your heater in winter
The battle for visibility is also fought inside your vehicle. As you sit pulled over, or even as you crawl forward, your windows will inevitably begin to fog up. This is caused by the moisture from your breath and wet clothing condensing on the cold glass. The common mistake is to crank the fan on the “recirculate” setting, which only traps and re-circulates the humid air, making the problem worse. This not only blinds you but also puts unnecessary strain on your heater fan and electrical system at a time when your battery is already weakened by the cold.
You must actively manage the humidity inside your car. The solution is counter-intuitive: you need to use your air conditioning. Even in the dead of winter, pressing the A/C button activates the system’s dehumidifier, which will rapidly pull moisture out of the air. Combine this with the correct heater settings to clear your windows in seconds. Follow this emergency defog sequence precisely.
Here is the sequence to clear interior fog instantly:
- Heater to MAX Temperature: Turn your heat dial to the highest setting to warm the glass.
- A/C Button ON: Activate the air conditioning to engage the dehumidifier.
- Air Intake to FRESH: Set your system to pull in fresh, dry outside air. Never use recirculate when trying to defog.
- Crack a Rear Window: Open a window in the back of the car just 1-2cm. This creates an exit path for the humid air your A/C is pulling from the cabin.
Before you even get in the car, aggressively knock snow and ice off your boots and coat. Every bit of moisture you bring inside becomes a visibility problem later. A clear view out is just as important as a clear view ahead.
Key Takeaways
- A whiteout is a survival scenario; your mission is to stay alive, not reach your destination.
- Your senses are your primary tool: learn to feel the road through the steering wheel and listen for changes in tire noise.
- Stopping safely has a strict hierarchy. The shoulder is a last resort, putting you in the direct path of snowplows.
When to lift off the throttle: Visual cues that signal black ice
The most treacherous threat in winter driving is the one you can’t see. Black ice is a thin, transparent layer of ice that forms on the road, making it look like wet, black asphalt. It’s the primary reason for sudden, inexplicable losses of control, and it’s a major factor in winter accidents. With RCMP statistics reporting that almost 30% of accidents occur on wet, icy, or snowy roads, knowing how to spot black ice is not just a skill—it’s a prerequisite for survival. You must learn the visual and environmental cues that signal its presence.
The most dangerous temperature range for black ice formation is between +2°C and -4°C, when melting snow can refreeze into a slick glaze. Pay constant attention to your vehicle’s exterior temperature gauge. If the temperature is hovering around freezing, you must assume black ice is present. Watch the road surface ahead for a change in texture. A dry, windswept winter road often looks grey or white. If you see a patch ahead that looks dark, wet, and glossy, lift your foot off the throttle before you hit it. That shine is not water; it is ice.
Your ears are also a critical detection tool. While driving on a wet or slushy road, your tires make a distinct spraying sound. If that sound suddenly stops and the road ahead looks wet, you are on black ice. This sudden silence is your final auditory warning. Pay extra attention in high-risk zones known for freezing first:
- Bridges and Overpasses: Structures like those on the 401 or the Decarie Expressway are exposed to cold air from above and below, causing them to freeze long before the road surface.
- Mountain Shadows: In areas like the Rockies, sections of road shaded from the sun will remain frozen and icy.
- Rock Cuts: The massive rock walls along highways like Hwy 17 in Northern Ontario can trap cold air and create icy patches.
Surviving a whiteout is not about luck; it’s about discipline. It’s about overriding your instincts with cold, hard tactics. It’s about respecting the road, understanding the physics, and making the right decision when your life depends on it. Now you have the commands. Follow them.