
That nosedive when you brake isn’t a sign of normal wear; it’s a critical failure of your vehicle’s active safety system.
- Worn shocks can increase your braking distance by several meters, a margin that can be the difference between a close call and a collision.
- They compromise the effectiveness of your ABS and stability control, especially on wet or icy Canadian roads.
Recommendation: Stop thinking about shocks in terms of comfort. Start treating them as a non-negotiable safety component that requires immediate attention at the first sign of weakness.
You feel it every day. As you approach a stop sign, you press the brake pedal and the front end of your car dives toward the pavement. You might dismiss it as a quirk of an aging vehicle, a simple loss of that “new car feel.” Many drivers believe this nosedive, or the floaty, boat-like ride on the highway, is merely a comfort issue. They might notice other symptoms, like a harsher ride over bumps or strange noises, but the common wisdom is to address it “later.”
This perspective is dangerously flawed. The components responsible for this behaviour—your shock absorbers and struts—are not luxury items. They are fundamental pillars of your vehicle’s active safety system. Their primary job isn’t to cushion you from bumps; it’s to keep your tires pressed firmly against the road at all times. When they wear out, they are no longer just failing to provide comfort; they are actively working against your brakes, your steering, and your car’s stability control systems.
The truth is, that nosedive is the most visible symptom of a critical loss of control. It signals a significant weight transfer that lifts the rear of the car, reducing the grip of the back tires precisely when you need it most. On the pristine asphalt of a test track, this is a problem. On a rain-slicked Canadian highway or a frost-heaved Quebec side road, it can be catastrophic.
This article will dissect the physics behind this common problem. We will move beyond the vague notion of a “bumpy ride” to provide a technician’s-eye view of the specific, measurable dangers of driving with worn suspension. We will cover how to diagnose the issue, understand the severe risks, and follow the correct procedures for repair to restore not just comfort, but the essential safety your vehicle was designed to provide.
This guide breaks down the critical safety implications of worn suspension, from diagnosis to repair, providing the essential knowledge you need to stay in control on the road.
Summary: Understanding the Dangers of Worn Shocks
- Why does a soft suspension increase your stopping distance by 3 meters?
- How to tell if your shocks are dead by pressing on the hood?
- Metallic noise or sagging: how to spot a broken coil spring from Quebec roads?
- The danger of imbalance: why should you always change shocks in pairs?
- When to do an alignment: is it mandatory after changing the suspension?
- Why does a sedan handle the road better than an SUV during an avoidance maneuver?
- How to know if your parking brake is strong enough for provincial standards?
- Passing the Ontario Safety Standards Certificate: A Checklist for Sellers
Why does a soft suspension increase your stopping distance by 3 meters?
The connection between a “soft” ride and longer stopping distances isn’t intuitive, but it’s based on simple physics. A shock absorber’s job is to provide damping force, controlling the oscillation of the vehicle’s springs. When this damping force is gone, the tire doesn’t maintain firm, consistent contact with the road during braking. Instead, it can bounce or “hop” microscopically. Each time the tire loses contact, for even a millisecond, you are not braking on that wheel.
During a hard stop, a vehicle with worn shocks experiences excessive nosedive. This dramatic forward weight transfer lifts the rear of the vehicle, significantly reducing the load on the rear tires and thus their braking effectiveness. Your front brakes are suddenly forced to handle a much larger portion of the stopping duty, easily becoming overwhelmed. This is not a minor issue; studies have shown that worn shock absorbers can increase your braking distance by up to 20%. At highway speeds, that 20% can easily translate to several car lengths—the difference between a safe stop and a rear-end collision.
Furthermore, this loss of tire contact severely hampers the effectiveness of your Anti-lock Braking System (ABS). The ABS computer relies on steady wheel speed data to prevent lock-up. A bouncing wheel sends erratic signals, confusing the system and potentially causing it to release brake pressure at the wrong moment. Research from the Cologne Institute for Traffic Safety found that a 50% reduction in damping ability could increase stopping distance by 23%, a critical safety degradation.
How to tell if your shocks are dead by pressing on the hood?
The “bounce test” is a classic diagnostic technique for a reason: it’s simple and effective at revealing a severe lack of damping force. While it won’t detect marginally worn shocks, it will instantly identify a component that has failed completely. A healthy shock absorber is designed to dissipate the energy stored in the coil spring in a single compression and rebound cycle. It should control the spring’s movement, not allow it to oscillate freely.
To perform the test correctly, place your hands on a corner of the vehicle, over the wheel. Use your body weight to push down firmly and then release quickly. Observe the vehicle’s reaction.
- One bounce: The vehicle compresses, rises back to its normal height, and settles. This is the sign of a healthy shock absorber.
- Two bounces: The vehicle rises, dips slightly again, and then settles. This indicates marginal or wearing shocks. It’s time to budget for a replacement.
- Three or more bounces: The vehicle continues to oscillate like a boat on water. This is a clear sign of failed shock absorbers. The vehicle has virtually no damping control on that corner and is unsafe to drive at speed.
This test exposes the shock’s inability to control the spring, a failure that is dramatically amplified when the wheel encounters a real-world obstacle. A frost-heaved crack or a classic Canadian pothole forces the suspension through a violent, high-speed cycle that a failed shock simply cannot manage, leading to a dangerous loss of tire contact.
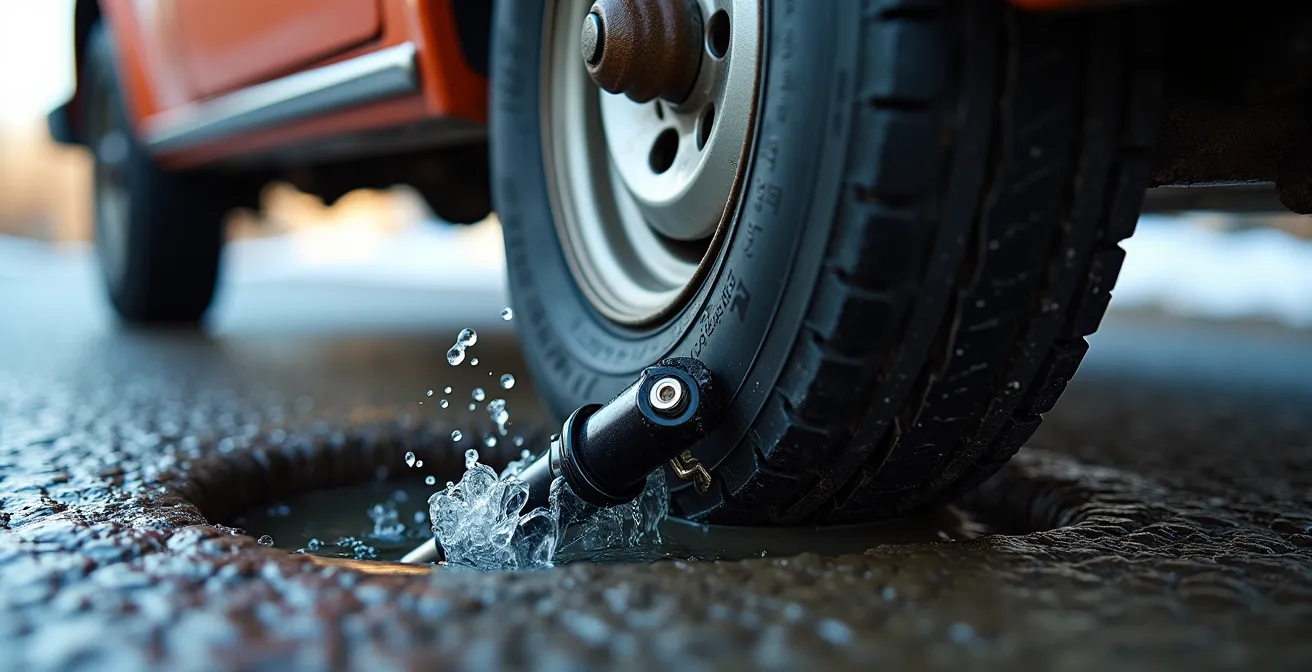
As this image illustrates, the moment of impact is when damping force is most critical. With a worn shock, the tire can rebound excessively off the pavement after the initial hit, effectively skipping across the road surface. This momentary loss of traction can be catastrophic if it happens during a cornering or braking maneuver.
Metallic noise or sagging: how to spot a broken coil spring from Quebec roads?
The harsh reality of Canadian winters, particularly on Quebec’s roads notorious for their freeze-thaw cycles, is tough on suspension components. Road salt accelerates corrosion, and deep potholes can deliver impacts that go beyond what components are designed to handle. This can lead to a failure that is often confused with a worn shock: a broken coil spring. While both are critical failures, their symptoms are distinct.
A worn shock absorber typically results in a rhythmic clunking or knocking noise as the suspension travels over bumps. As experts from Monroe note, “This sound is caused by metal-to-metal contact when the shock or strut bottoms out.” It’s a sign of lost control. A broken coil spring, however, often announces itself with a sudden, loud “BANG” or metallic grinding sound as the fractured ends of the spring contact each other or other suspension parts. Visually, a broken spring will cause the vehicle to sag noticeably on one corner, creating an uneven ride height that is obvious even when parked.
Understanding the difference is a critical safety matter. While a vehicle with worn shocks can often be carefully driven to a service center, a broken coil spring makes the vehicle immediately unsafe to operate. The following table clarifies the distinction:
| Symptom | Broken Spring | Worn Shock | Immediate Action |
|---|---|---|---|
| Sound | Sudden BANG or grinding | Rhythmic clunking | Spring: Stop immediately / Shock: Schedule service |
| Visual | Vehicle sag, uneven height | Oil leaking on shock body | Spring: Do not drive / Shock: Safe for short distances |
| Handling | Severe pulling to one side | Excessive bouncing | Spring: Call tow truck / Shock: Drive carefully |
| Tire wear | Immediate inner edge wear | Gradual cupping pattern | Spring: Risk of blowout / Shock: Monitor closely |
If you suspect a broken spring, do not attempt to drive the vehicle. The broken spring can shift, potentially puncturing the tire or interfering with braking components. It requires an immediate tow to a qualified technician.
The danger of imbalance: why should you always change shocks in pairs?
When one shock absorber fails, it may seem economical to replace only the single faulty unit. This is a critical and dangerous mistake. Suspension components must be balanced across an axle (front or rear). Replacing only one shock creates a significant imbalance in damping force from one side of the vehicle to the other. One side will be firm and controlled, while the other remains weak and bouncy.
This imbalance has severe consequences for vehicle stability. During a cornering maneuver, the car will lean unevenly, and the side with the old shock will compress more, unsettling the car’s balance and reducing grip. In an emergency lane change or while swerving to avoid an obstacle, this imbalance can be the deciding factor that leads to a spin or loss of control. The AutoZone Technical Team states it plainly: “You must always replace both rear shock absorbers or front struts as a set because if one side of the vehicle is damping at a higher rate than the other side it can cause dangerous instability.” This is a foundational rule of suspension service.
The danger is magnified in modern vehicles equipped with Electronic Stability Control (ESC). These sophisticated systems rely on predictable and consistent suspension behaviour to make their micro-adjustments to braking and engine power. When one side of the suspension responds differently than the other, the ESC’s algorithm can be “fooled,” causing it to intervene incorrectly or not at all. As research confirms, modern vehicle stability systems depend on properly functioning shocks to respond correctly, and an imbalanced axle undermines their very purpose.
When to do an alignment: is it mandatory after changing the suspension?
This is a common question, and the answer is unequivocal: Yes, an alignment is almost always necessary after major suspension work. Failing to do so will negate the benefit of your new parts and lead to rapid, costly tire wear. It’s important to understand the difference between shocks and struts. A shock is a simple damping component, while a MacPherson strut is a structural part of the suspension that also affects steering angles.
Any time a MacPherson strut is replaced, a wheel alignment is mandatory. The strut assembly directly influences the camber and toe angles of the wheel. Installing a new strut, even if it’s an identical part, will invariably alter these critical alignment settings. Driving without realigning will cause poor handling, a crooked steering wheel, and will destroy your front tires in a matter of a few thousand kilometers.
If you are only replacing rear shocks (not struts), an alignment is still highly recommended. The change in rear ride height can affect the overall vehicle rake and thrust angle, which can in turn influence front-end alignment and tire wear. The minimal cost of an alignment check is cheap insurance against premature tire replacement. The following table, with typical Canadian pricing, outlines the requirements.

| Suspension Component | Alignment Required? | Canadian Cost Range | Risk if Skipped |
|---|---|---|---|
| MacPherson Struts | Always mandatory | $120-180 CAD | Rapid tire wear, poor handling |
| Rear Shocks Only | Recommended | $80-120 CAD | Possible rear tire wear |
| Complete Strut Assembly | Essential | $150-200 CAD | Severe tire damage |
| Coil Springs | Required | $120-180 CAD | Uneven tire wear pattern |
Skipping this final step is like buying a new suit and refusing to have it tailored. You’ve spent money on quality components but are failing to ensure they work together correctly, leading to poor performance and additional costs down the line.
Why does a sedan handle the road better than an SUV during an avoidance maneuver?
The fundamental difference in handling between a sedan and an SUV comes down to one key factor: the center of gravity. A sedan, like a Honda Civic, sits low to the ground with its mass concentrated near the vehicle’s centerline. An SUV, like a Honda CR-V, has a much higher center of gravity due to its taller body and increased ground clearance. This physical difference has a dramatic impact on stability, especially during an emergency maneuver.
When any vehicle turns, centrifugal force tries to push it outwards, causing the body to “roll” or lean away from the direction of the turn. In a sedan, this body roll is minimal. In an SUV, the higher center of gravity acts as a longer lever, amplifying the rolling motion. The vehicle leans much more, transferring weight off the inside wheels and reducing their grip. This inherent instability is a trade-off for the SUV’s utility and commanding view of the road.
This is where shock absorbers become critical. Healthy shocks work to counteract body roll, keeping the vehicle as flat as possible. But when the shocks are worn, they can’t control this weight transfer. An emergency lane change test comparing a Civic and a CR-V with worn shocks highlights this danger. While the Civic might feel sloppy, the CR-V can become dangerously unstable, with the excessive body roll creating a risk of lifting an inside wheel or even a rollover, a risk magnified on icy Canadian roads.
Ultimately, worn shocks exacerbate the natural disadvantages of a high center of gravity. For SUV drivers, maintaining a healthy suspension isn’t just about ride quality; it’s a critical factor in mitigating the vehicle’s inherent risk of instability in an emergency.
How to know if your parking brake is strong enough for provincial standards?
The parking brake, or emergency brake, is a secondary braking system that is mechanically separate from your main hydraulic brakes. Its health is a key inspection point for any provincial safety certificate, such as Ontario’s MTO or Quebec’s SAAQ programs. An inspector will not just check if it engages, but if it can actually hold the vehicle stationary under load. A weak parking brake is an automatic failure.
You can perform a simple and safe test to gauge its effectiveness. Find a moderately steep, quiet hill with no traffic. Come to a complete stop using your normal service brakes. With your foot still on the brake pedal, firmly engage the parking brake. For a foot-operated pedal, press it to the floor; for a hand-operated lever, pull it up until it is very tight (you should hear several clicks).
Once the parking brake is fully engaged, slowly and carefully release the pressure on the main brake pedal. The vehicle should remain completely stationary. If the car begins to roll or creep, your parking brake is not holding sufficiently. This is often due to stretched cables or worn-out rear brake shoes/pads that need adjustment or replacement. A parking brake that requires you to pull the lever to its absolute maximum travel to hold is also a sign that an adjustment is needed.
In a vehicle with an automatic transmission, the “Park” gear has a parking pawl that mechanically locks the transmission. Many drivers rely on this alone, but it puts immense stress on drivetrain components. The parking brake is designed to hold the vehicle’s weight, preserving the transmission. For any provincial safety inspection, relying on the parking pawl is not an option; the parking brake system itself must be fully functional.
Key Takeaways
- A nosedive on braking is a sign of failed shocks, not normal wear, and critically increases stopping distance.
- The bounce test is a simple, effective way to identify completely failed shocks that pose an immediate safety risk.
- Always replace shocks or struts in pairs on the same axle to prevent dangerous handling imbalances that can confuse stability control systems.
Passing the Ontario Safety Standards Certificate: A Checklist for Sellers
In Ontario, selling a used vehicle requires it to pass a stringent Safety Standards Certificate inspection. The suspension system is a major focus of this inspection because its condition is directly tied to vehicle control. For a seller, presenting a car that can pass this inspection without issue is a massive selling point that adds significant value and trust. Conversely, a car with obvious suspension faults will be immediately flagged by any savvy buyer or mechanic.
Failing for worn shocks, leaking struts, or loose components is common, especially given the toll of Ontario’s road salt and potholes. Proactively addressing these issues before listing your vehicle is a smart financial move. As one Ontario seller reported, an “$800 investment in new struts resulted in selling the vehicle $1,500 above initial asking price.” Buyers are willing to pay a premium for the peace of mind that comes with a certified, road-ready vehicle that won’t require immediate, expensive repairs.
To prepare your vehicle for the inspection and maximize its value, you can perform a pre-inspection using the same criteria a licensed technician would. This allows you to identify and fix any problems beforehand, ensuring a smooth certification process.
Your Pre-Safety Inspection Checklist for Ontario
- Visual inspection: Check for any signs of oil or fluid actively leaking from the shock or strut bodies. Any wetness is an automatic failure.
- Bounce test: Perform the bounce test on all four corners. The vehicle must settle within 1-2 bounces. Any more is a failure.
- Measure ride height: Park on a level surface and measure from the center of the wheel to the fender lip on each side of an axle. A difference of more than an inch suggests a sagging spring and will fail.
- Check mounting points: Safely try to wiggle the top and bottom of the shocks/struts. Any looseness in the bushings or mounting bolts is a failure.
- Inspect ball joints and tie rods: With the wheel jacked up, check for any play by wiggling the tire side-to-side and top-to-bottom. Any detectable play requires replacement.
By addressing these points, you transform your vehicle from a potential liability into a turn-key solution for the buyer. Documenting the repairs with receipts for new parts like struts, ball joints, or an alignment provides tangible proof of the vehicle’s restored safety and value.
Do not wait for a safety inspection to tell you there’s a problem. Take control of your vehicle’s safety by having your suspension professionally inspected at the first sign of a nosedive, excessive bounce, or unusual noise. Restoring your vehicle’s damping control is one of the most important investments you can make in your own safety on the road.